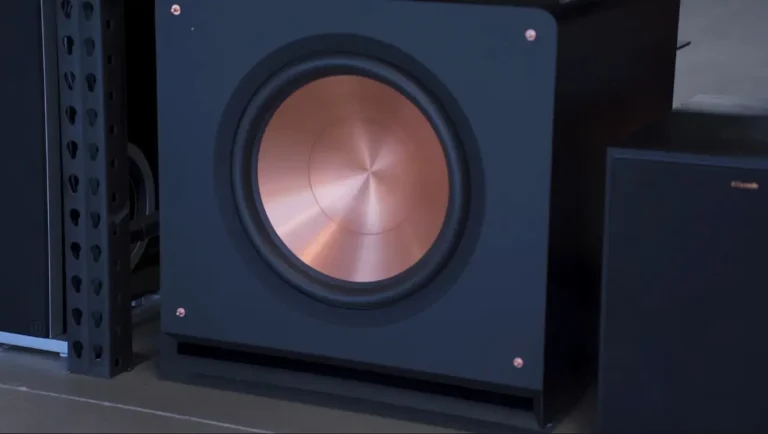
The Klipsch R-120SW subwoofer is now easily available in the market. It is customized for movies, songs, and home theatre that require a comforting subwoofer that can vibrate the very foundation of your domicile. The sub-woofer is also noted for its precision, durability, along with the brand mark serving audiophiles’ precision. Each “R-120SW” is integrated for harmony in every audio system. With this manual, you are bound to sail through every hassle for the R-120SW and mark them as milestones traversed.
The Klipsch R-120SW is an approximately 12-inch powered subwoofer that has the capability of creating rich stem from bass. It is an updated version of the older “R Series”, built one fortification above another. R series is famous for possessing high, mid, and low balanced audio sublime to the ear. The enhanced versions possess reference integrated features renowned for producing high-quality audio, overriding other reverberations or distortions. It also possesses a diagnostic feature that borders die line between profound and controlled bass.
FEATURES
- 200 watts RMS / 400 watts peak power
- Linear port and adjustable low Track
- phase control and high / level input.
Installing your Klipsch R-120SW Step by Step:
Be familiar with your Klipsch R-120SW subwoofer. I can guarantee you the very first step isn’t complicated. Given below is a stream of instructions designed to get you moving:
Steps for setting up a Subwoofer:
1. First, Input Your One-time Placement. Keep It In The Correct Location
Subwoofers should be positioned for the best sound tuning. Make sure you also position your subwoofer properly to prevent needing to move it after plugging it in.
Most Ideal Location:
Put the subwoofer at the front of the room along a wall. Corners are also perfectly acceptable because they usually improve bass responsiveness. However, if you place your subwoofer too close to the corner, it can get overly boomy and sound noticeably worse. Make sure to find the sweetspot for your room by diagonally fine-tuning your positioning.
Also Avoid:
Make sure nothing is blocking the subwoofer vent in the front. These are crucial to good performances and must always be airy.
2. Now Connecting Your Audio System To The Subwoofer
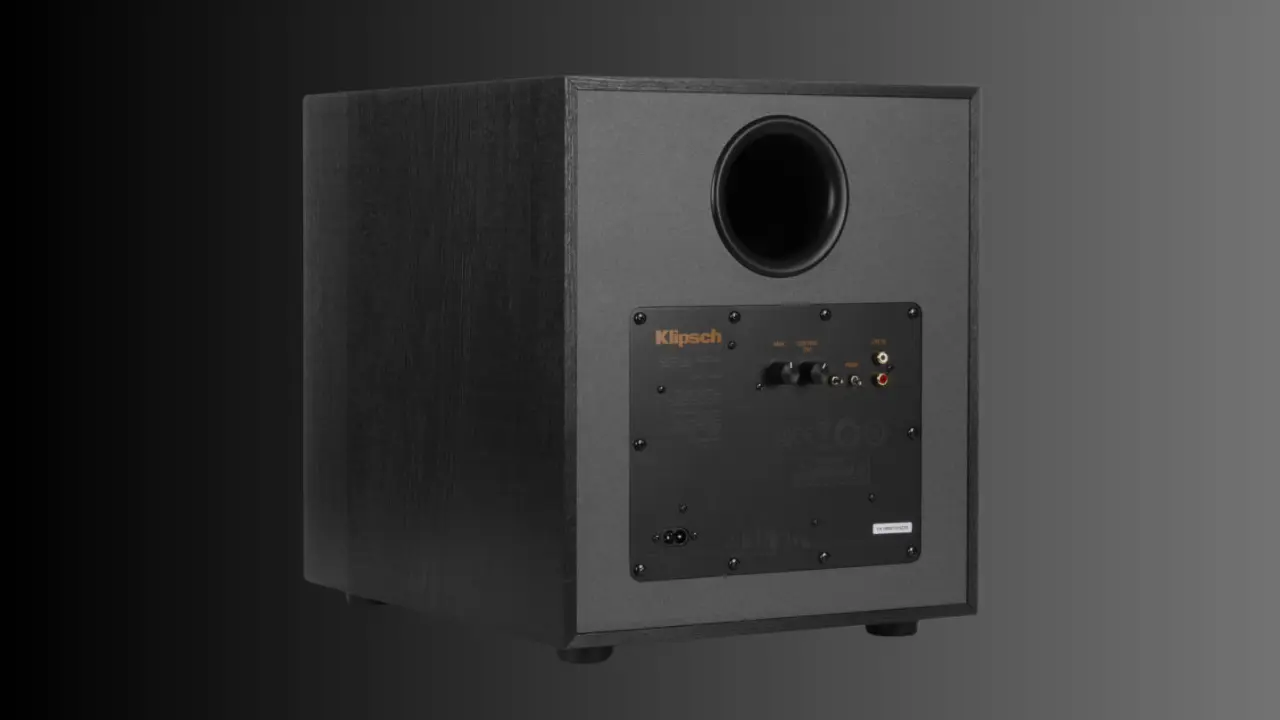
Bridging R120SW To The LFE: Low Level RCA Connects:
For R120, the LFE output has the primary RCA output. Inside your DVD player or BLU-RAY receiver, the subwoofer output line will appear next to the LFE sub slot. From your AV receiver: R120SW works best. The LFE slot has the deepest sources of bass geared towards energized triggering inputs that take off subs rooted on AV receivers that have a pure subwoofer output.
High-Level (Speaker Wire) Connection:
In cases when a subwoofer output is not available on the AV receiver or Amplifier, you can use a high-level connection. Take the speaker output terminals on the receiver, and connect them to the high-level inputs on the subwoofer. Regular speaker wire can be used for this connection.
Check out: Klipsch R-80SWi
Tip: The speaker wire polarity also needs to be attended to. The positive terminal of the receiver should go to the positive terminal of the subwoofer, and the negative to the negative.
3: Powering Up and Adjusting the Settings
After those connections have been completed, plug the subwoofer into an AC outlet. Power on the subwoofer by pressing the power button located on the back of the unit. The power LED will turn blue, indicating it can be set now.
Volume: It’s best to first set volume (or gain) control to a mid-level on the back of the subwoofer. Will change this to preference later on if needed.
Low-Pass Filter (Crossover Frequency): Set the low-pass filter to a number that is possible for your speakers to handle. Most home theaters can start with 80Hz. To make sure that the subwoofer only has to deal with lower frequencies and the speakers with higher frequencies.
Phase Control: Employ the phase control to pair the subwoofer with the speakers. If a bass cancellation or a hollow sound is present, try changing the phase to 180 degrees.
4: Calibration
To get the optimal subwoofer bass response, the subwoofer needs to be calibrated. This can be achieved with the auto-calibration feature of some AV receivers (with Audyssey, YPAO, or MCACC), or it can be done manually with a sound level meter for tweaking the subwoofer parameters. Check that the output level of the subwoofer is in line with the other speakers to avoid overpowering or underpowering the sound.
Klipsch R-120SW Subwoofer Common Issues and Fixes
Although the Klipsch R-120SW subwoofer promises ease of use, like any device, it has its shortcomings. Posed here are solutions to the highlighted challenges.
Problem 1: Subwoofer Not Providing Output
Power: Double-check the subwoofer’s power source and ensure it is plugged into a functional power outlet. Revolve the blue LED located at the back; it should be on when the unit is powered on.
Connection Problem: Inspect the connections made between your AV receiver or amplifier to the subwoofer. In the case of a low-level (RCA) connection, inspect for damage or loose connections on the RCA cable.
Receiver Settings: Make sure that the subwoofer output of the receiver is enabled. You may need to configure the subwoofer to the appropriate channel within the receiver’s configuration options.
Problem 2: The Subwoofer Sounds Distorted or Muffled Ter…
Overdriving the Subwoofer: High volume or gain settings will distort the sound. Reduce the volume, then slowly increase it while checking for clarity and deep bass response.
Placement Issues: If the subwoofer is located too near a wall or a corner, it may exaggerate low-frequency sounds, which could lead to distortion. Try moving it a little.
Phase Issues: Improper phase settings will muddy the sound and lower the overall clarity. Adjust the phase control on the rear of the subwoofer and tune it until the bass is tight and controlled.
Problem 3: Subwoofer Produces Noisy or Humming Sound
Ground Loop: Constant humming or buzzing noises may indicate a ground loop. To fix this, ground loop isolator, provide a direct circuit via a power amplifier, or plug all audiovisual devices into a common power strip.
Cable Interference: Check that the RCA cables are not laid parallel with power supply cables or other electronic devices, which could cause interference and noise.
Problem 4: Subwoofer Does Not Sync With Other Speakers
Phase Control: The phase setting might be what is causing the subwoofer and other speakers to be out of sync. Adjust the phase control and see whether the bass is aligned better with the rest of the system.
Distance Control: Make sure the distance setting for the subwoofer is correctly calibrated in the receiver’s settings. Misalignment here can cause the subwoofer’s output to be out of alignment in time with the other speakers.
Conclusion:
Klipsch R-120SW subwoofer is an excellent option for a home theater system since it offers deep bass and exceptional performance. Following this setup guide, along with common problem-solving steps, will make sure your subwoofer achieves the optimal sound for your system. Klipsch R-120SW greatly improves the audio experience, whether it is for watching movies, playing games, or listening to music.